One On One Course
Private Painting Lessons in Acrylics
I conduct my acrylic painting lessons as a short course. A course consists of two 3 hr. sessions (total of 6 hrs.) for a fee of $180. Both sessions are private, one-on-one instruction, covering my approach, techniques and process to complete a work.
Download a 3-page PDF (519 KB) with complete details.
What Students Say
Thank you for the exemplary painting lessons I received from you on April 3rd and 4th. I have been painting for 2 years under another brilliant instructor. I truly enjoyed your view on drawing and painting techniques. I appreciated your shared knowledge and honesty.
The ‘out of the box’ view of paint layering has taken me to another level! I am grateful that you provided such in-depth varied instruction and I look forward to continued sessions with you.
I will always recommend you to others.
Valerie Archer
My Painting Process
These three sequences of images provide an overview of my painting process. Once the drawing is established and the underpainting applied, I primarily use a dry brush technique, layering the colours (dark to light) to obtain the final piece.
Bowen Island Five O’Clock Shadow
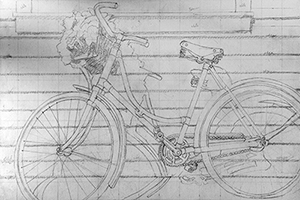
Referencing the photo, I draw the bicycle and wall in pencil using a grid as an assist.
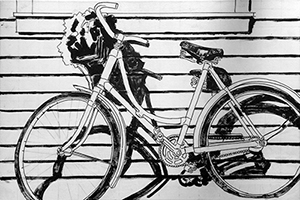
I redraw the pencil drawing with a waterproof black marker and add black gesso to the shadow areas.
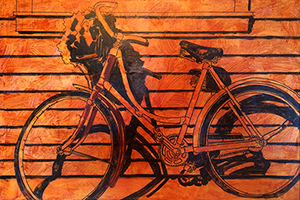
I cover the canvas with several coats of Quinacridone Nickel Azo Gold mixed with regular gloss medium (to increase transparency) and heavy gloss (to add texture).
I loosely block in the major colours to establish working areas.
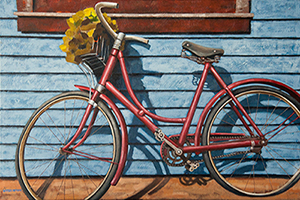
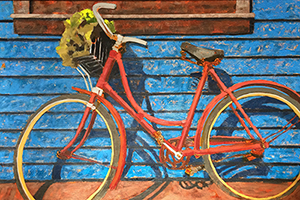
The painting is completed after several layers of paint buildup – working dark to light in a dry brush technique.
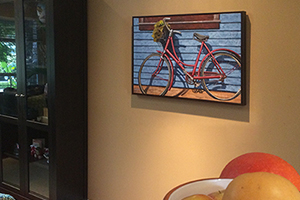
The commissioned painting resides in the home of an avid art collector.
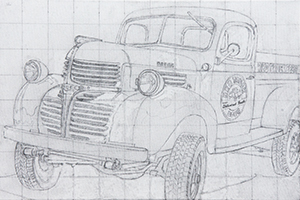
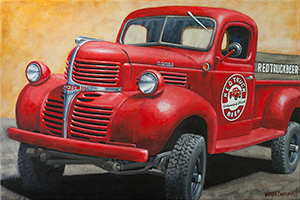
What's Under The Hood?
Red Iron Oxide, Quinacridone Crimson, Burnt Umber, Cadmium Orange, Quinacridone Nickel Azo Gold, Naples Yellow, Vancouver Grey, Paynes Gray, Phthalo Blue (green shade), Phthalo Green (blue shade), Titanium White and Zinc White
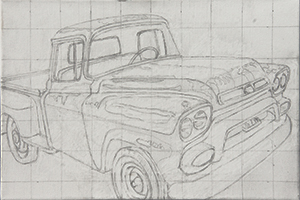
Utilizing a grid as an assist, I draw the truck in pencil using an electric eraser to make corrections.
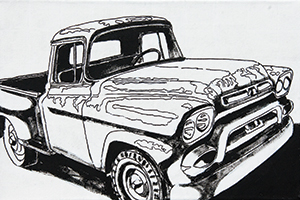
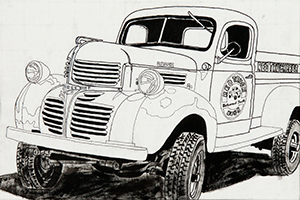
I redraw the truck with a waterproof black marker, fill the shadow areas with black gesso and erase the pencil lines.
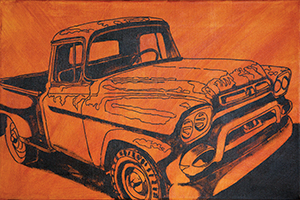
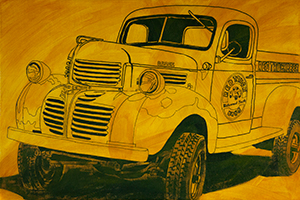
Using a wide brush, I cover the canvas with two thin coats of Quinacridone Nickel Azo Gold (plus gloss medium to increase transparency).
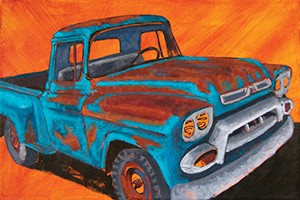
I block in dark and mid tone colours values, working dark to light (layering mid tone colours over darker ones).
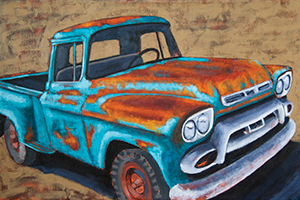
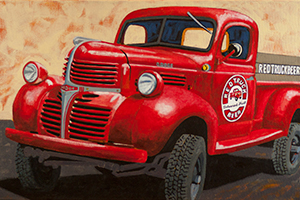
I layer in the lighter tones with brighter/lighter mixes of the same colours and darken the background.
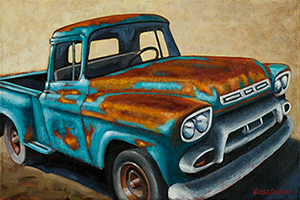
I improve tonal and colour contrasts, add highlights and lighten the background.
Lager-Than-Life
Cadmium Red Medium, Quinacridone Red light, Pyrrole Orange, Quinacridone Nickel Azo Gold, Azo Yellow Medium, Naples Yellow, Red Iron Oxide, Burnt Umber, Paynes Gray, Vancouver Grey, Titanium White and Zinc White
With a grid as an assist, I draw the truck in pencil and make corrections with an electric eraser.
I redraw the truck with a waterproof black marker, fill the shadow areas with black gesso and erase the pencil lines.
Using a wide brush, I cover the canvas with two thin coats with a mixture of Quinacridone Nickel Azo Gold and Azo Yellow Medium (plus gloss medium to increase transparency).

I block in dark and mid tone colours values, working dark to light (layering mid tone colours over darker ones). I overlay white where the lighter colours and highlights will be placed.
I glaze the white areas with brighter/lighter reds and lighten the background.
I improve contrasts – lighter lights and darker darks, add final highlights and texture the background.